How to Send Push Notifications to the iOS Simulator
As of Xcode 11.4 beta, you can!
Push notifications are one of the most popular ways for developers to keep users engaged in their apps. In iOS applications, push notifications can be incorporated by using the Apple Push Notification service (APNs).
However, it’s not as easy as it sounds since there is a long list of things to do for setting this up. Plus, what’s worse is that we have to use a real device to test if push notifications are working or not since push notifications aren’t supported in Xcode’s iOS Simulator.
But I have some good news for you. Xcode 11.4 beta is out and the best part about this release for me is that we can finally test push notifications in the iOS Simulator!
The release note of Xcode 11.4 beta consists of a section that says:
“Simulator supports simulating remote push notifications, including background content fetch notifications. In Simulator, drag and drop an APNs file onto the target simulator. The file must be a JSON file with a valid Apple Push Notification Service payload, including the “aps” key. It must also contain a top-level “Simulator Target Bundle” with a string value matching the target application‘s bundle identifier.
simctl also supports sending simulated push notifications. If the file contains “Simulator Target Bundle” the bundle identifier is not required, otherwise you must provide it as an argument (8164566):
We’ll go in-depth about what this means in the latter part of the post. But for now, let’s be happy because the hassle of having to use a real device for testing push notifications is finally gone.
How Do We Do It?
So, now, let’s see how we can use this newly-arrived feature of Xcode 11.4 beta. For this, you obviously need to have Xcode 11.4 beta or higher. I currently have Xcode 11.4 beta.
Now, let’s create a new project. I’ve named it TestPushNotifications and the user interface I chose is Storyboard. You can choose SwiftUI if you want.
Creating a new project
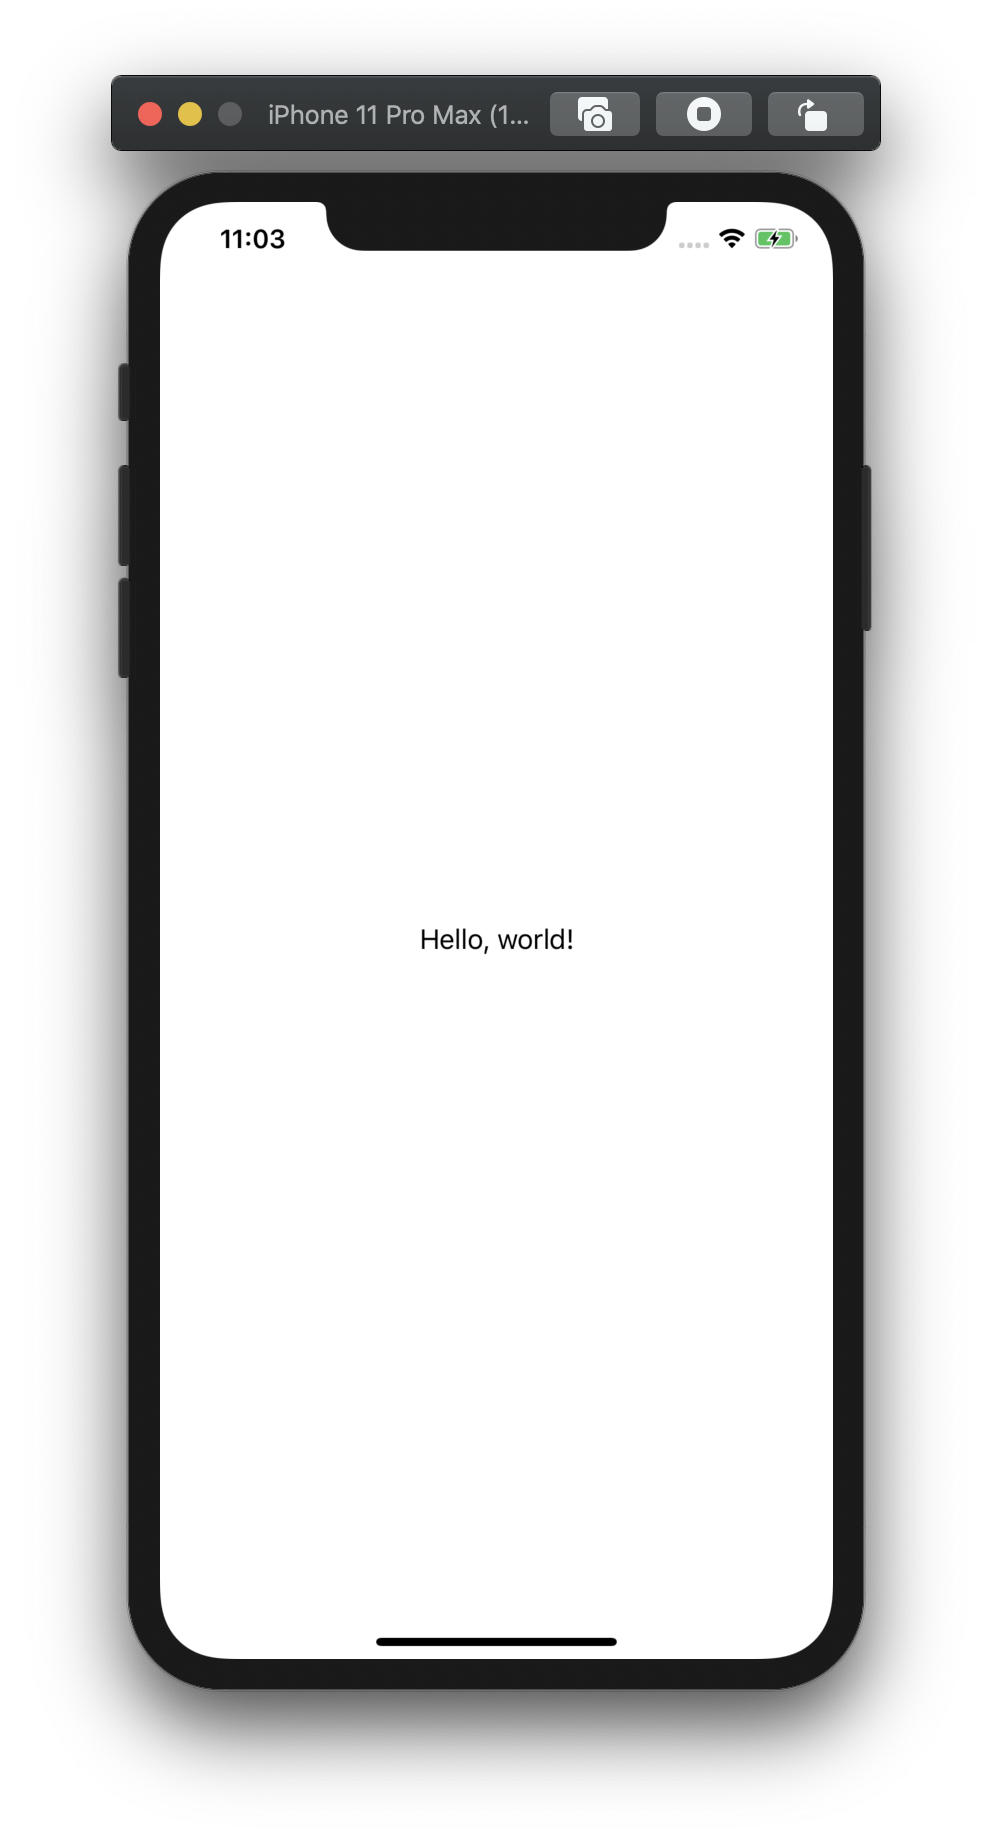
Just to make the app look good (though it won’t help…), I’ve added a UILabel that says “Hello, world!” in View Controller of Main.storyboard.
Now, when we run the app in a simulator, iPhone 11 Pro Max in this case, it looks like this:
This is where the fun begins! Let’s go to the AppDelegate.swift file and add the following line below import UIKit to import Apple’s UserNotifications framework.
import UserNotifications
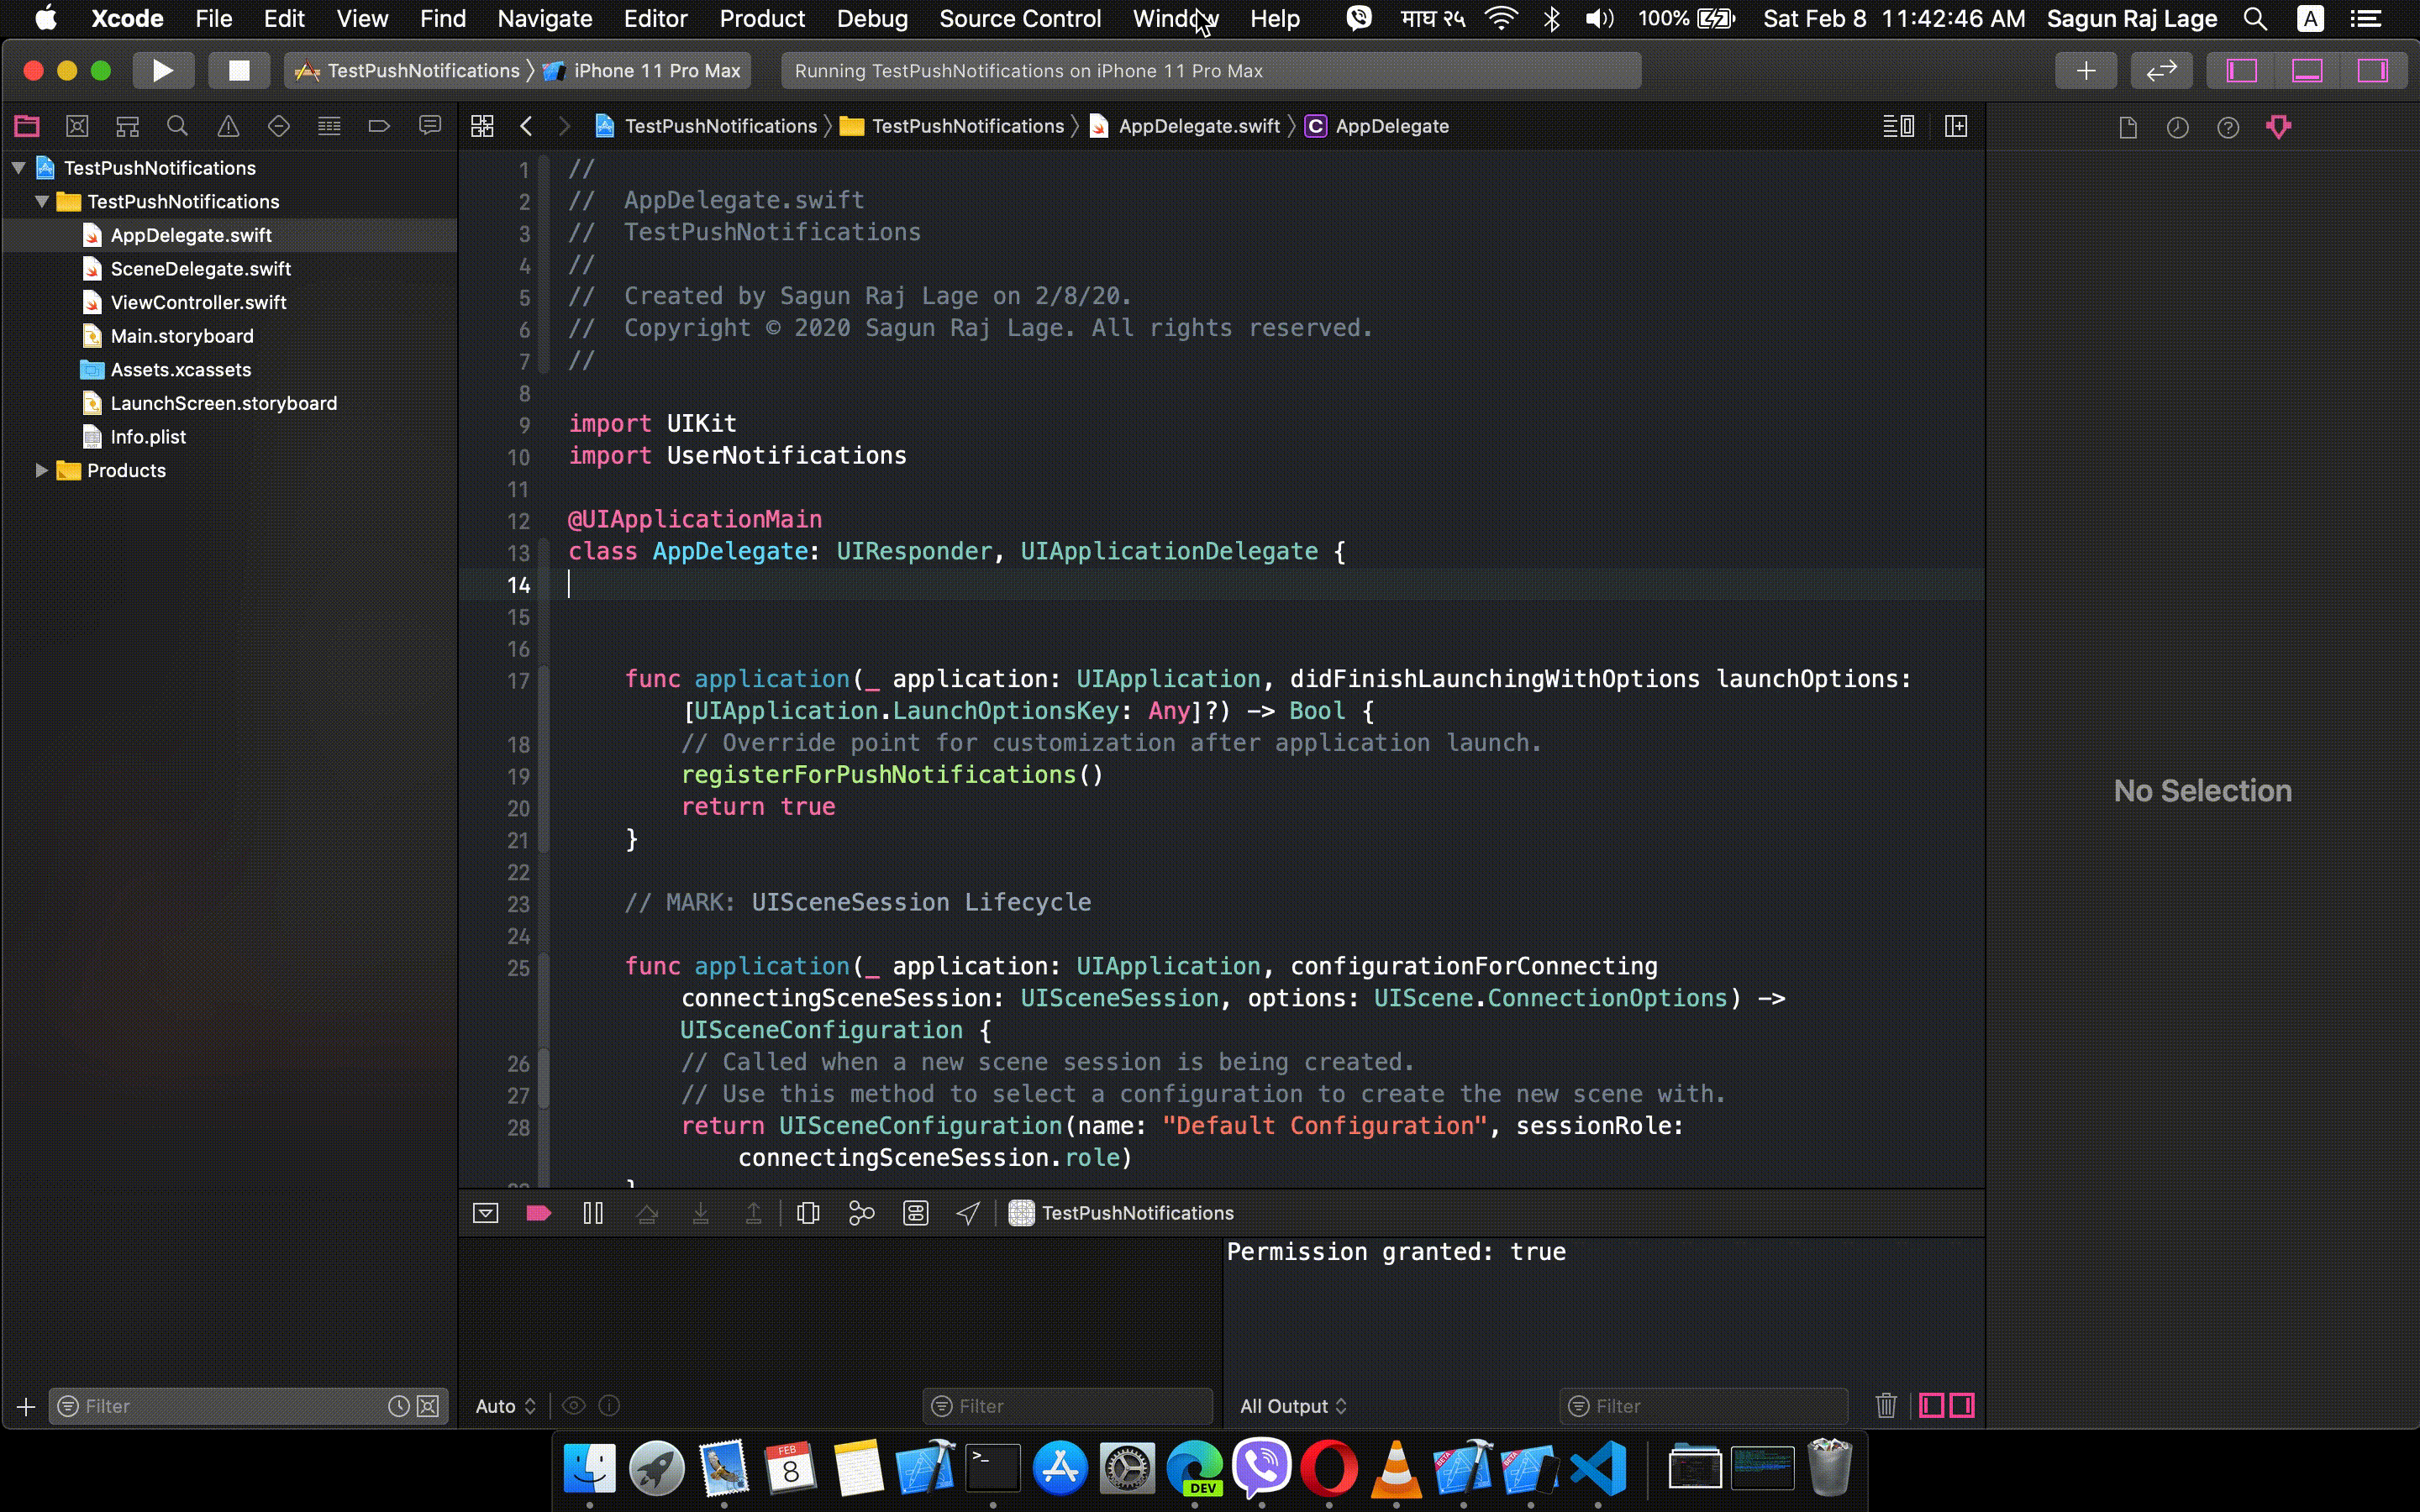
Now, in the AppDelegate class, let’s create a function, registerForPushNotifications(), that requests permission from the user to allow the app to send push notifications.
Let’s call the function we just created, from the application(_:didFinishLaunchingWithOptions:) method of AppDelegate.
For that, add registerForPushNotifications() above the return true statement. Your AppDelegate.swift file will look something like this:
//
//  AppDelegate.swift
//  TestPushNotifications
//


import UIKit
import UserNotifications

@UIApplicationMain
class AppDelegate: UIResponder, UIApplicationDelegate {

    func application(_ application: UIApplication, didFinishLaunchingWithOptions launchOptions: [UIApplication.LaunchOptionsKey: Any]?) -> Bool {
        // Override point for customization after application launch.
        registerForPushNotifications()
        return true
    }

    // MARK: UISceneSession Lifecycle

    func application(_ application: UIApplication, configurationForConnecting connectingSceneSession: UISceneSession, options: UIScene.ConnectionOptions) -> UISceneConfiguration {
        // Called when a new scene session is being created.
        // Use this method to select a configuration to create the new scene with.
        return UISceneConfiguration(name: "Default Configuration", sessionRole: connectingSceneSession.role)
    }

    func application(_ application: UIApplication, didDiscardSceneSessions sceneSessions: Set<UISceneSession>) {
        // Called when the user discards a scene session.
        // If any sessions were discarded while the application was not running, this will be called shortly after application:didFinishLaunchingWithOptions.
        // Use this method to release any resources that were specific to the discarded scenes, as they will not return.
    }

    func registerForPushNotifications() {
        UNUserNotificationCenter.current()
            .requestAuthorization(options: [.alert, .sound, .badge]) {
                (granted, error) in
                print("Permission granted: \(granted)")
        }
    }

}
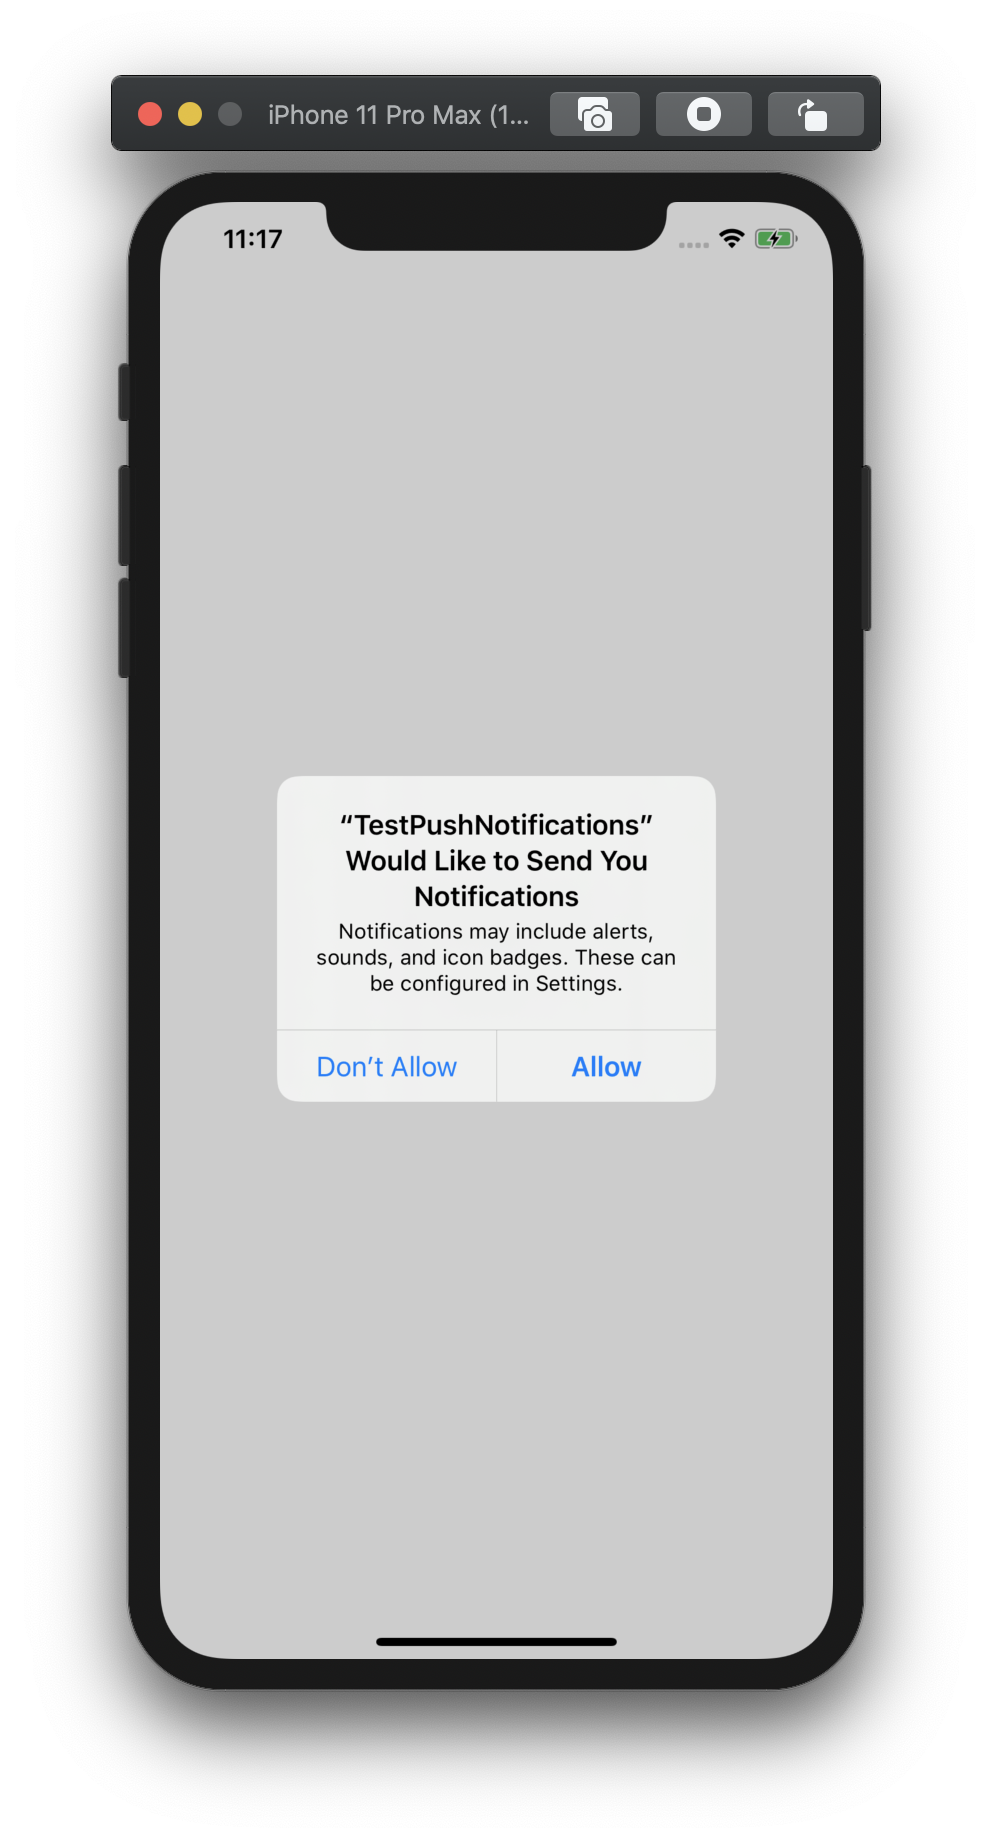
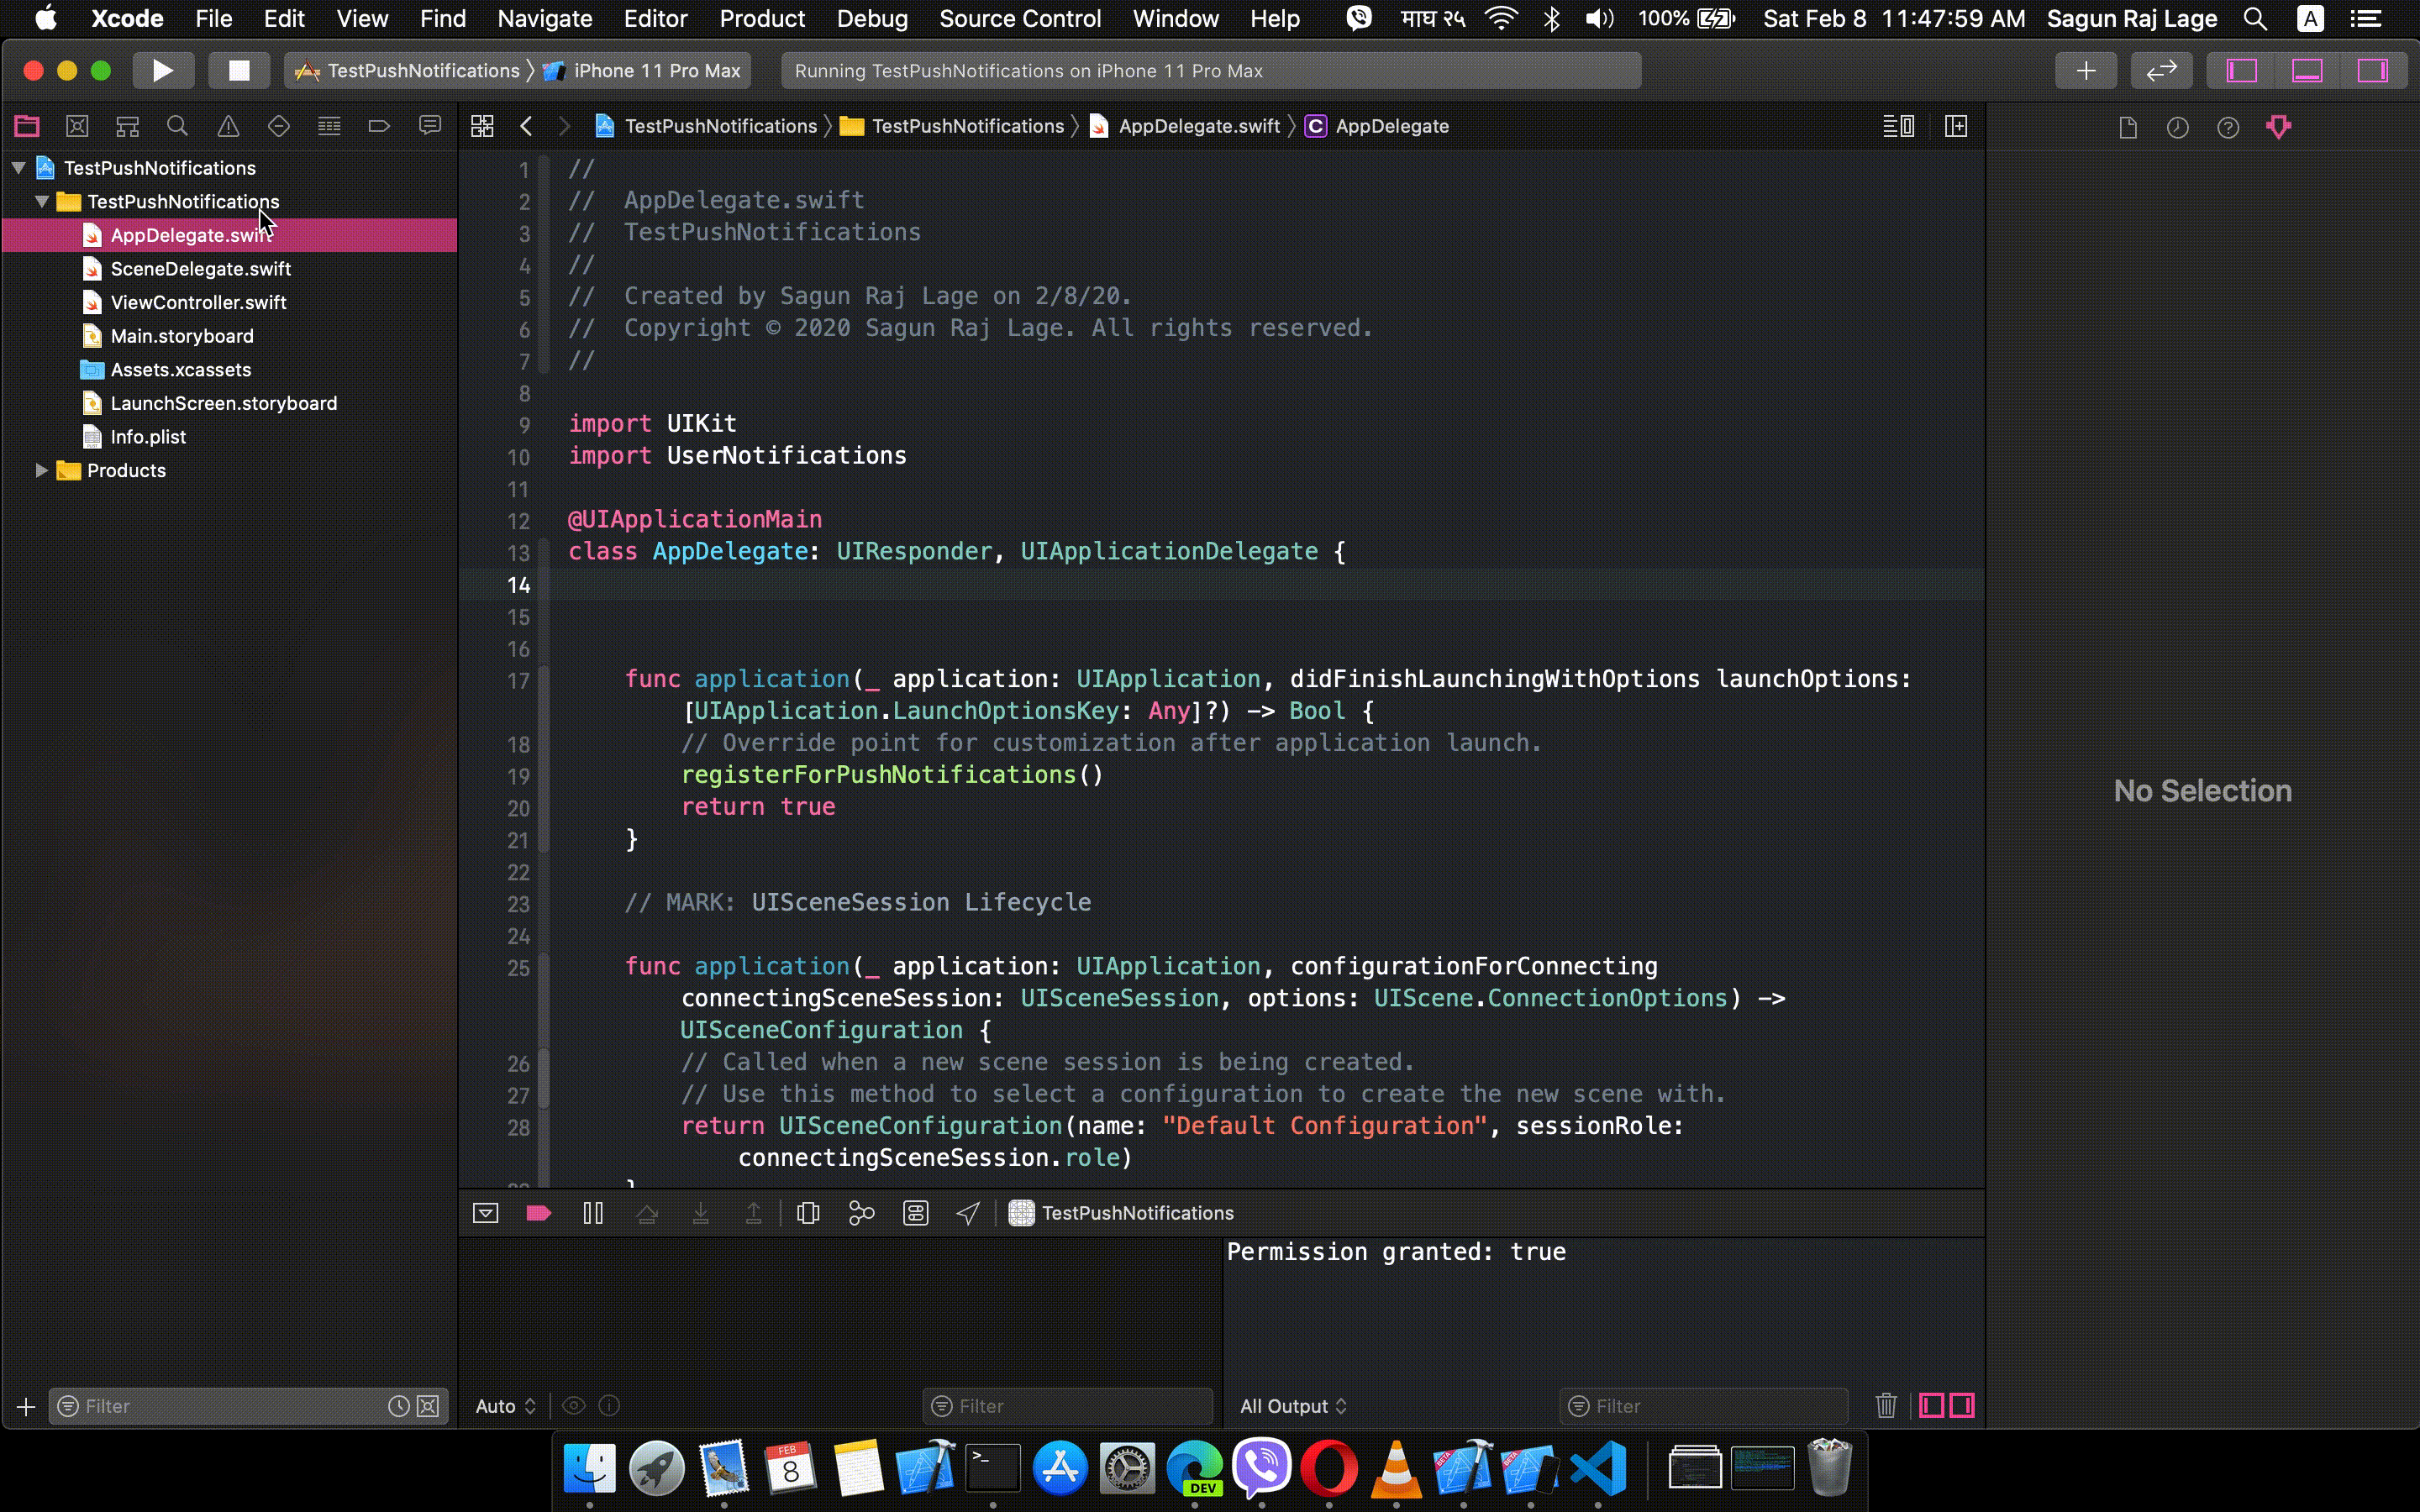
When we run the app, we get a dialog asking for permission to allow the app to send push notifications. Tap Allow.
Dialog asking for permission from the user to allow the app to send push notifications
The release note of Xcode 11.4 beta says:
"simctl also supports sending simulated push notifications. If the file contains “Simulator Target Bundle”, the bundle identifier is not required, otherwise, you must provide it as an argument (8164566):
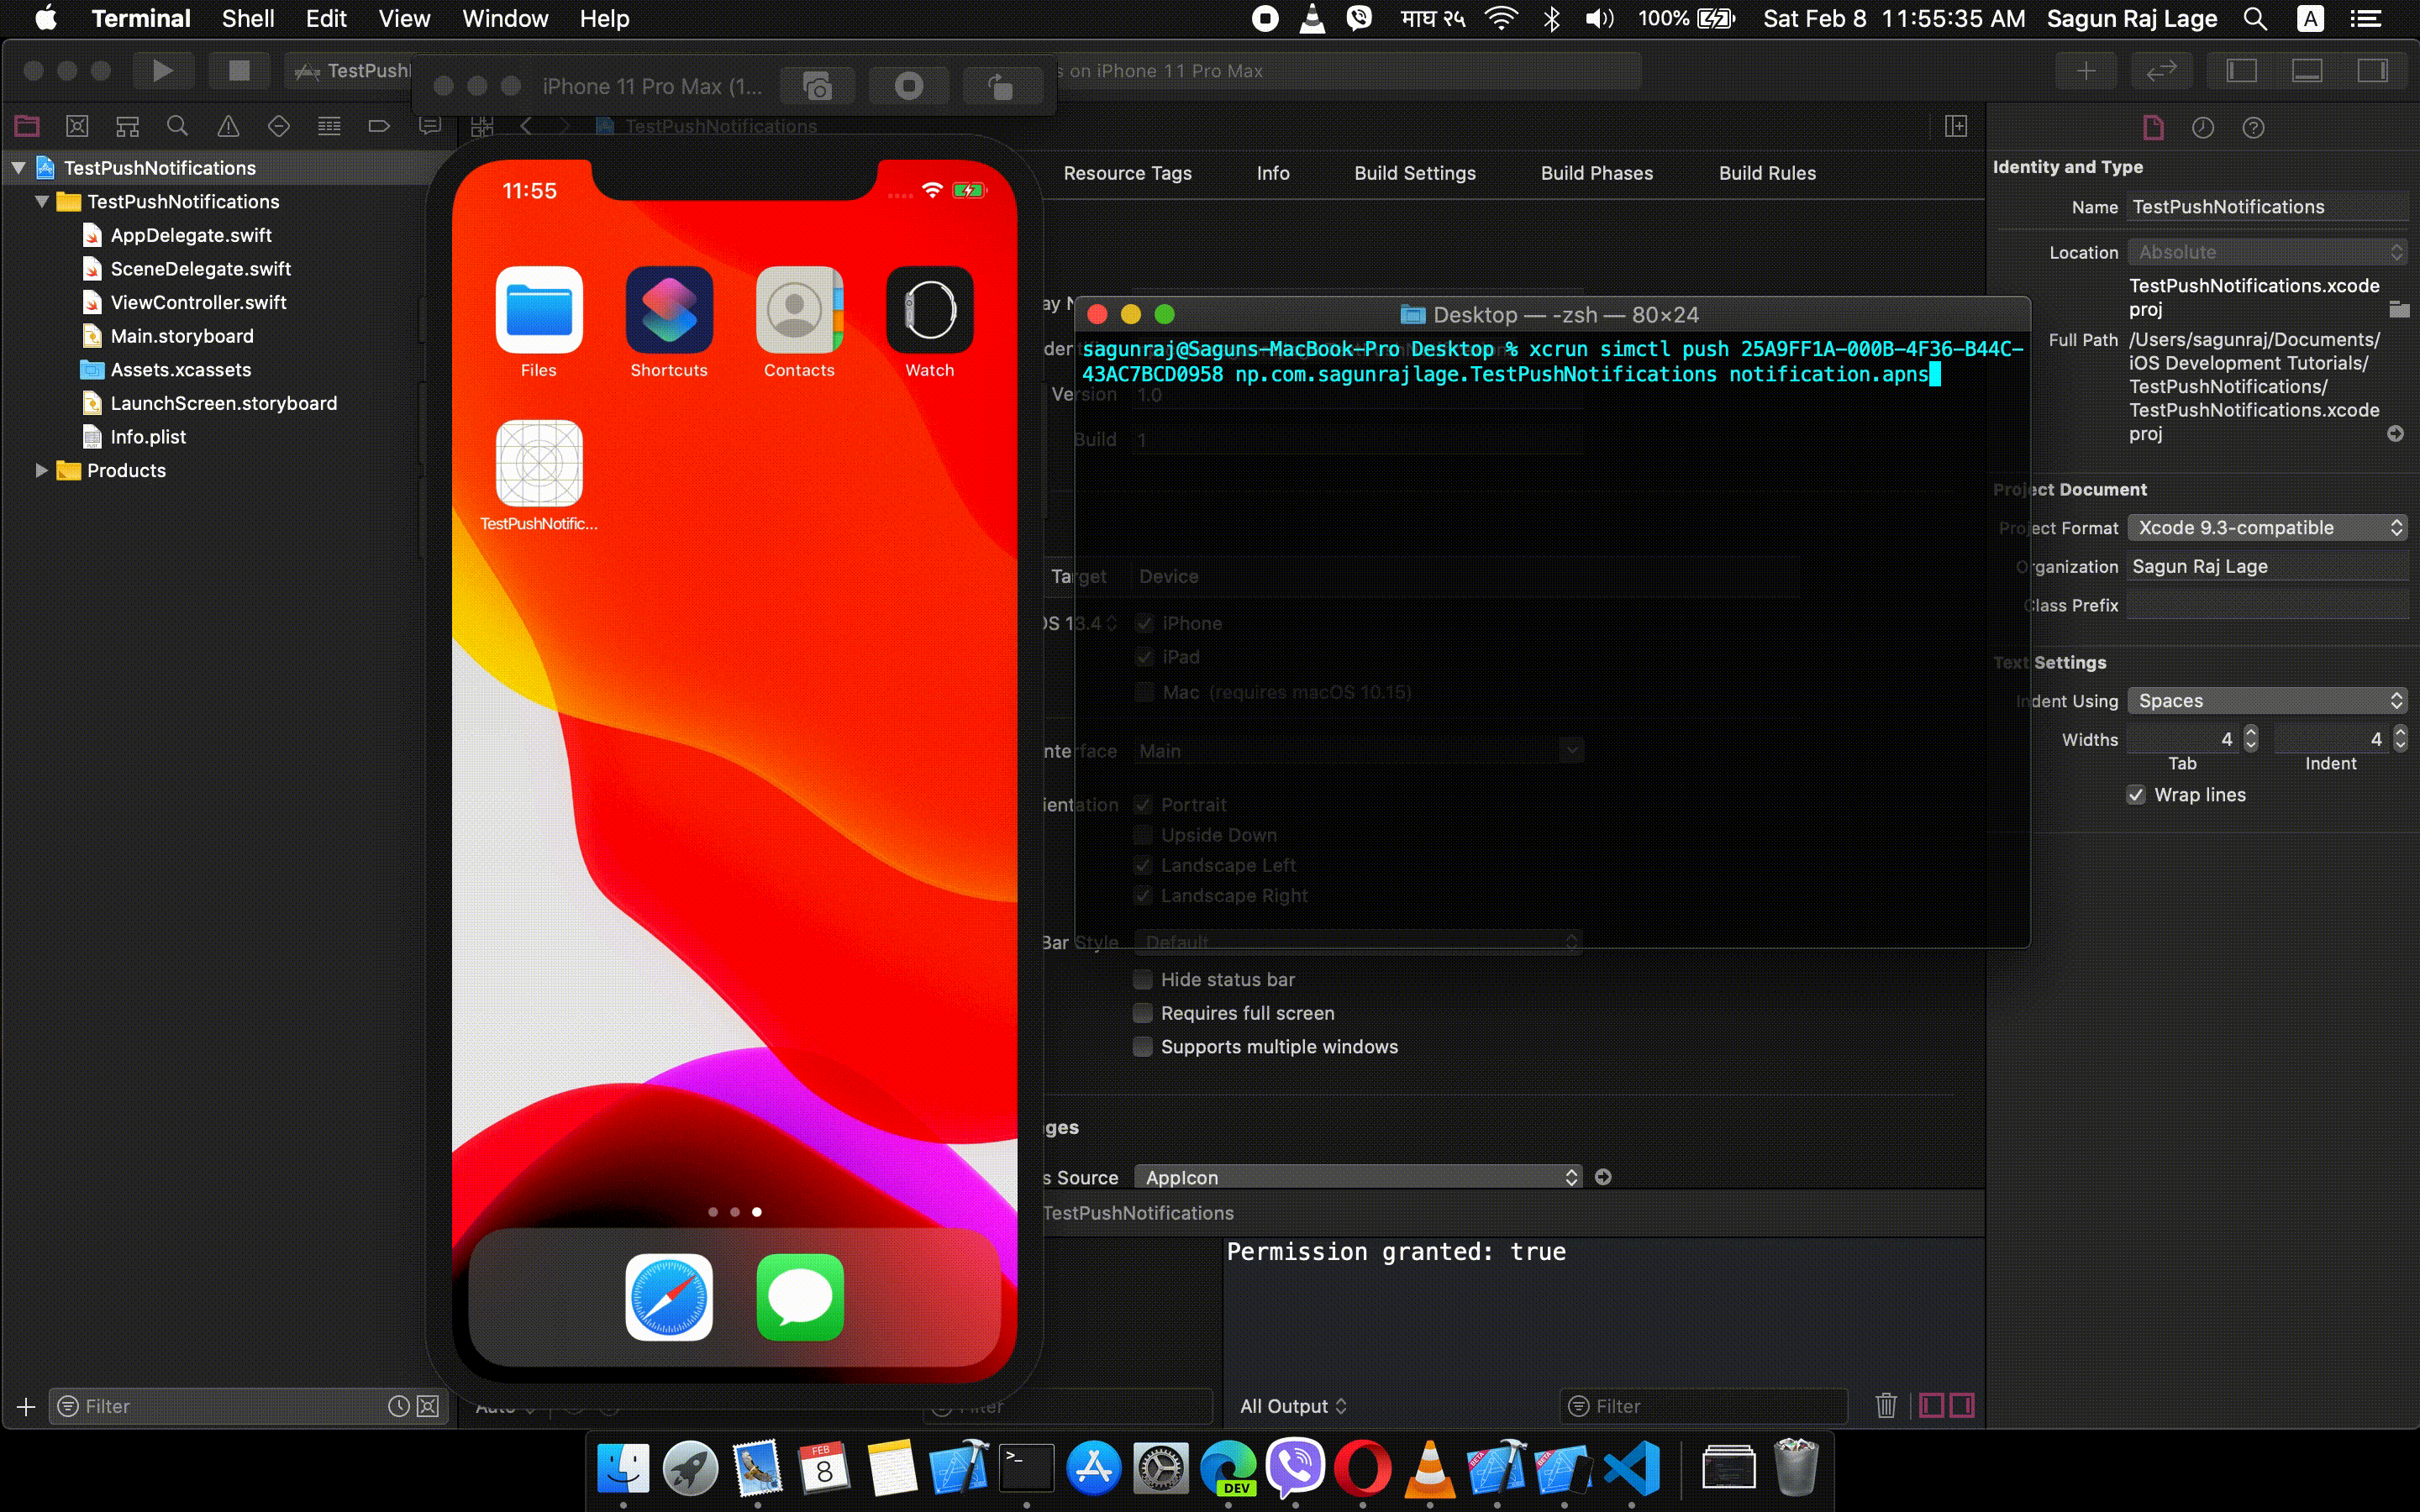
Now, let’s try what it says. For that, we require a JSON file with a valid Apple Push Notification Service payload.
Apple’s documentation, entitled “Generating a Remote Notification”, gives a clear idea about how we can create such a file. I’m creating a file named notification.apns on my desktop and adding the following content in it:
Here, <device> is to be replaced by the device identifier, com.example.my-app is to be replaced by your project’s bundle identifier, and ExamplePush.apns is to be replaced by the filename of our apns file.
Note that the bundle identifier is not necessary in the command, if you add it with the “Simulator Target Bundle” key in the apns file.
You can retrieve your simulator’s device identifier by following the steps shown in the GIF below:
Finding the device identifier of the simulator we are using (iPhone 11 Pro Max, in this case)
And you can retrieve the bundle identifier of your project by following the steps shown in the GIF below:
Finding the bundle identifier of the project
Before we execute the command, we have to send the app to the background first. That’s how the push notification will be visible.
Note: If you want the push notification to be visible even when the app is on the foreground, you can make AppDelegate conform to UNUserNotificationCenterDelegate and implement its userNotificationCenter(_:willPresent:withCompletionHandler:) method. And make sure that you have included the following line before calling registerForPushNotifications() in application(_:didFinishLaunchingWithOptions:) method:
As soon as it is executed, this is what we can see in the simulator — a push notification:
A push notification in Simulator
That’s how we can run a command to show push notifications in our simulator!
But wait, if you are not quite comfortable with using the terminal, there’s another way. Remember what the release note said?
“In Simulator, drag and drop an APNs file onto the target simulator. The file must be a JSON file with a valid Apple Push Notification Service payload, including the “aps” key. It must also contain a top-level “Simulator Target Bundle” with a string value matching the target application‘s bundle identifier.”
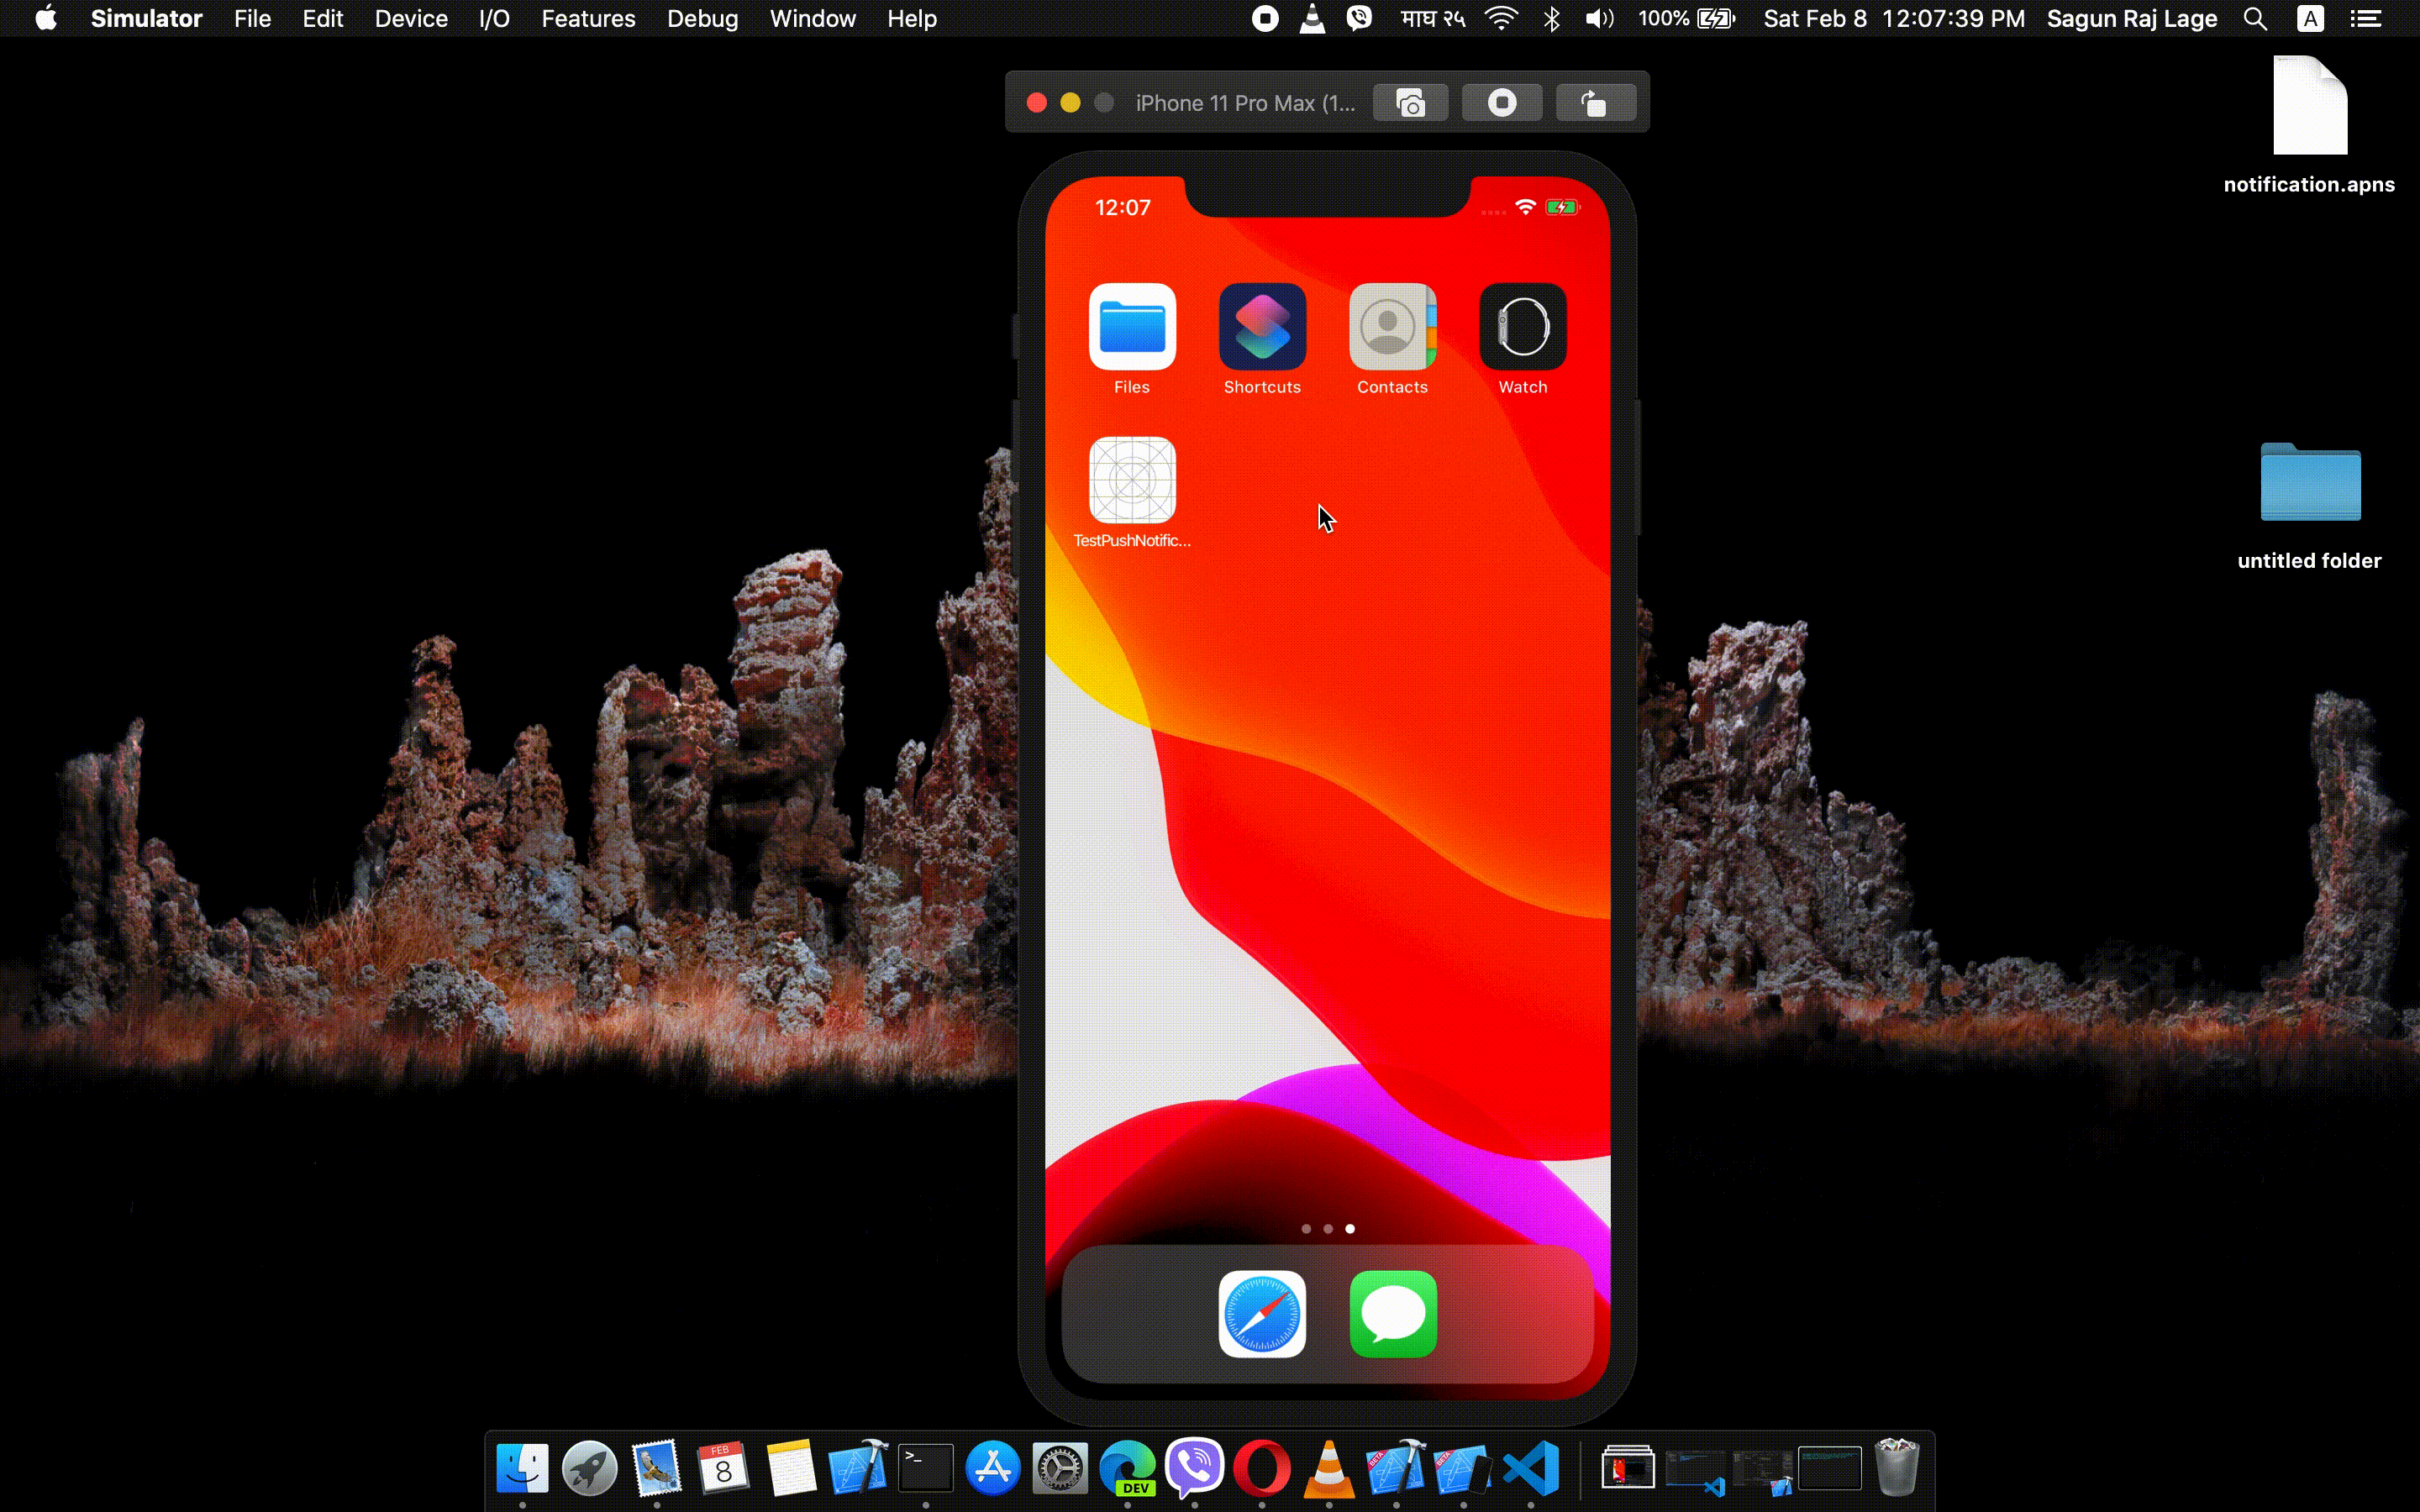
We can simply drag and drop our apns file into the simulator to get a push notification. But for that, we will have to make some modifications in the apns file.
In the notification.apns file that we created previously, let’s add one more key, "Simulator Target Bundle”, which will hold the value of our bundle identifier, which is “np.com.sagunrajlage.TestPushNotifications” in my case.
What if we told you, in less than 24 hours you could have your entire online Drop-shipping store setup? Our team will setup your brand so you can start making a profit! Here's what you get with our branding packages. ✓ Logo Design ✓ Conversion Optimised Store Templates ✓ Legal Pages Setup ✓ Product Supplier Integration ✓ Payment Gateway & Shipping Setup ✓ And MORE! Start your original drop shipping brand today! 👉 What are you waiting for, Contact us to create your own Drop-shipping store with Facebook/Instagram shop or connect your existing eCommerce application to Facebook/Instagram shop. Who We Are? We are agileHorde Technologies , an award-winning Mobile and Web Apps/E-commerce development company based in India, USA, Philippines. We develop apps that help businesses engage customers effectively . If you want to find out more, or are looking to outsource development of a tailored application, please reach us at info@agilehorde.co...
Apple’s developers look set to be able to use Xcode on iDevices following the release of iOS 14 later this year. iOS developer Steve Moser highlighted that a Xcode Preview app is hidden in iOS 13 which acts as a companion app to show layout previews on-device from the main Xcode Mac app. While it’s unlikely anyone would want to create a full project on their iOS device; it could be useful for doing a bit of work on-the-move. Apple is also making a bigger push to prove the iPad, especially the Pro lineup, is maturing into a full laptop replacement. Features debuted with iPadOS have made that somewhat feasible for many tasks; even more so following the recent addition of support for iPad keyboard trackpads. Support for trackpads isn’t the only hardware advancement Apple has added to iPads. An un-Apple like switch to USB-C added true support for external drives; with a proper file system added on the platform-level. Regardless of where you stand on whether the...
In the month of April, the PHP development team announced the availability of PHP version 7.4. This marks the fourth feature update to the PHP 7 series. PHP 7.4 comes with numerous improvements and new features. Key features in PHP 7.4 Class properties support type declarations. Starting from PHP 7.4, arrow functions will provide a shorthand syntax for defining functions with implicit by-value scope binding The full variance support is only available if autoloading is used by the user. Also, a single file will now only support non-cyclic type references. Numeric literals can contain underscores between digits. Weak references in PHP 7.4 will allow the programmers to retain a reference to an object that does not prevent the object from being destroyed. Users can now throw exceptions from __toString(). This was previously not permitted in PHP as it used to result in a fatal error. The CURLFile now supports stream wrappers in addition to ...


Comments
Post a Comment